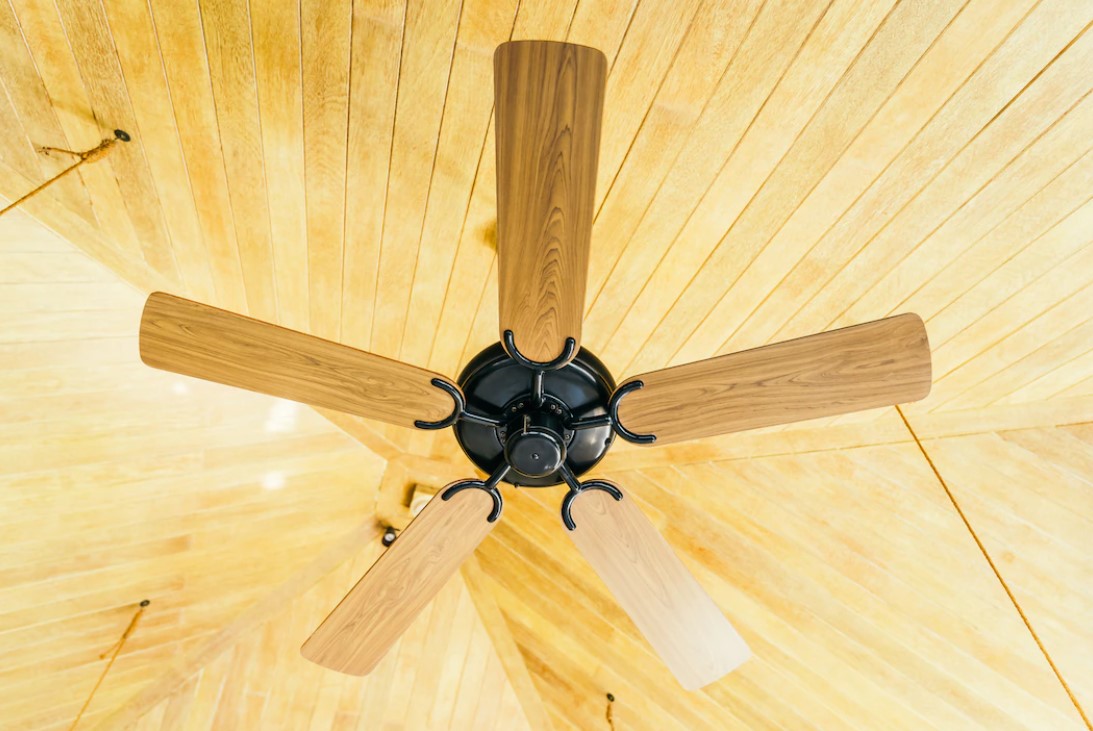
Some individuals adore ceiling fans, while others dislike them. However, we can certainly all agree that they are highly practical, particularly in the summer heat.
If you dislike the aesthetic of your ceiling fan, consider replacing it with a sleeker, more contemporary model. Thus, your room will have both purpose and style, which is a win-win, in our opinion!
There is no need to hire an electrician for this endeavor; you can install a new ceiling fan in less than an hour.
Supplies:
This is the most crucial phase of this project by far. To maintain safety when working with electrical cables, deactivate the ceiling fan.
Before proceeding, toggle the switch and use a voltage tester to ensure that the ceiling fan is not receiving electricity.
You'll need your screwdriver and someone to hold the fan while you work on it. Make sure that your assistant is prepared to hold it as you rapidly remove it.
Depending on the model of your fan, you will likely begin by removing the light fixture, the fan blades, and then the base.
Start unscrewing sections of the light and fan until everything is removed; only remember to take a picture of the wire connections. Are they red themselves? Black against black? Take a picture to assist you in transferring these wire connections to the new fan.
Now is the time to install the fan's components. Beginning with the ceiling bracket. Utilize the screws included with the new fan to fasten it to the electrical box.
Bring the ceiling cables through the central hole. That was one white wire and one yellow wire in our case (plus the green one on the ceiling bracket).
This following step will vary depending on the brand and type of your fan; thus, carefully adhere to the instructions.
For ours, we mounted the canopy and download assembly, ensuring that the cables were completely routed through. At this point, you may also need to get your wire cutters and trim the wires.
Bring the fan base to the ceiling and attach it to the ceiling bracket. The majority of modern fans include a function that allows you to rest the fan on the bracket while connecting the cables. This will prevent severe arm discomfort!
After securing the fan, connect the cables. Wires from the ceiling, wires from the fan, and wires from the receiver within the fan had to be accounted for (which lets us use a remote control).
First, we connected the ceiling, fan, and ceiling bracket ground wires. Next, we connected the remote control's wires: yellow to black and blue to blue. We next connected the neutral (white to white) and hot (black to black) wires (black to yellow).
Note: The wire colors may be different depending on your fan model and the wires in your ceiling.
Utilize the wire caps to secure connections. You don't want any wires to escape as you push everything up into the ceiling, so it's essential to tighten those wire caps tightly.
Then, we slipped the cables into the ceiling and put the base of the canopy into position.
Time to make it resemble a real fan! Take your fan blades and screw them into the canopy according to the model's instructions. We recommend laying a towel beneath the installation in case any screws are dropped.
Most likely, you will install the switch housing using screws. There will be a wire plug connecting the upper and lower housings of the switch. Ensure that this connection is safe, as it is what activates the fan.
We're nearing the finish line at this moment. Simply lay the glass cover over the housing kit until you hear a click. Now is the time to turn on the power and test the fan to ensure that your efforts were worthwhile.
The removal of the old fan caused some damage to the ceiling. A simple patch and coat of paint can make your ceiling seem brand-new, and your restored ceiling fan will complement your home's aesthetic.
If you can change a light fixture, you can change a ceiling fan without difficulty. All you need is a spare day and a patient assistant to complete the task!
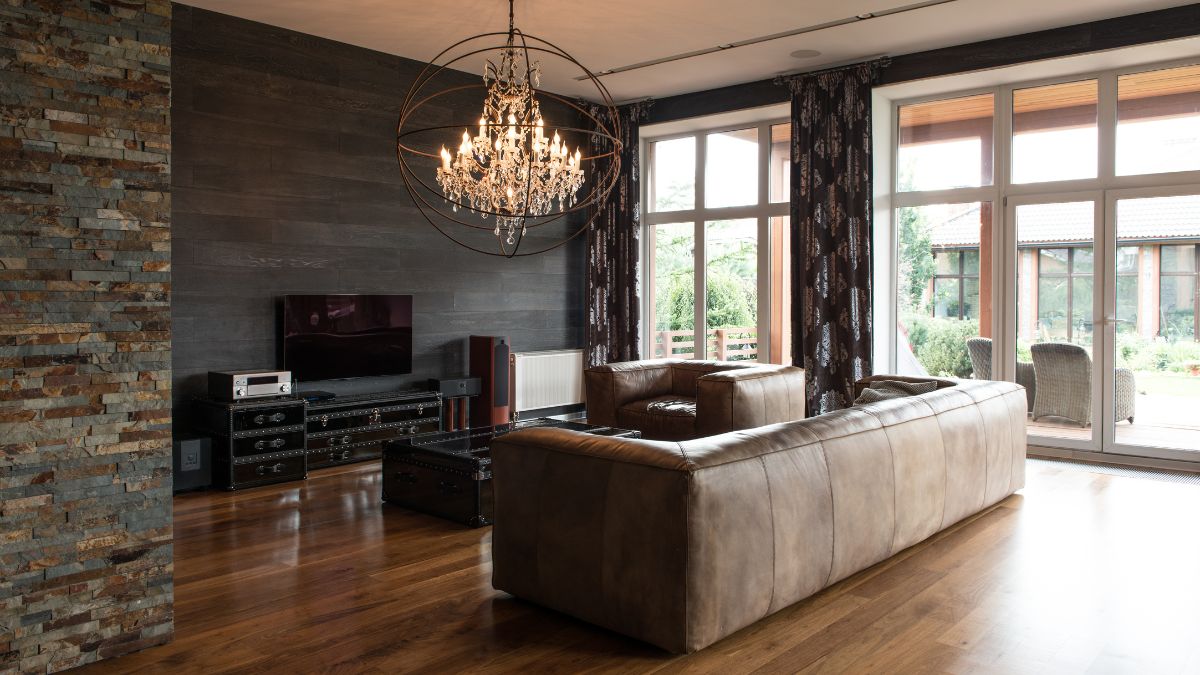
Do you want to know how to decorate your living room with a rustic warmth style, read our blog to learn about it!